Tutorial: an island, a boat and a storm
Fifteen minutes from an empty baseplate to a sea with a calm bay, a boat you can steer, players who swim, and a storm your server can call in. No code until the last step.
1. Install and Quick Start
Open the Infinite Ocean panel and press Dynamic Ocean under Quick Start. The wizard has four pages.
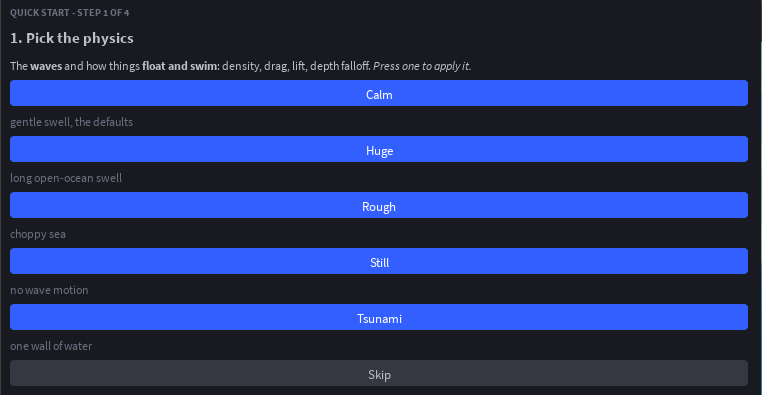
Pick the physics. Each button applies a physics preset and moves on: Calm is a gentle swell (the defaults), Rough is choppy, Huge is a long open-ocean swell, Tsunami is one wall of water, Still has no motion. Press Calm.
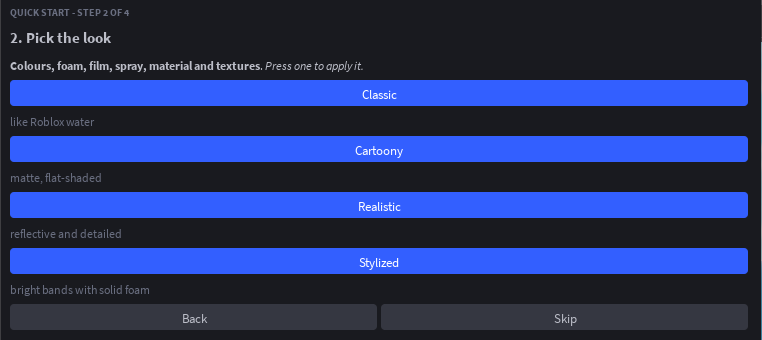
Pick the look. Classic is like Roblox water, Cartoony is matte and flat, Stylized is bright bands with solid foam, Realistic is reflective and detailed. Press Classic.
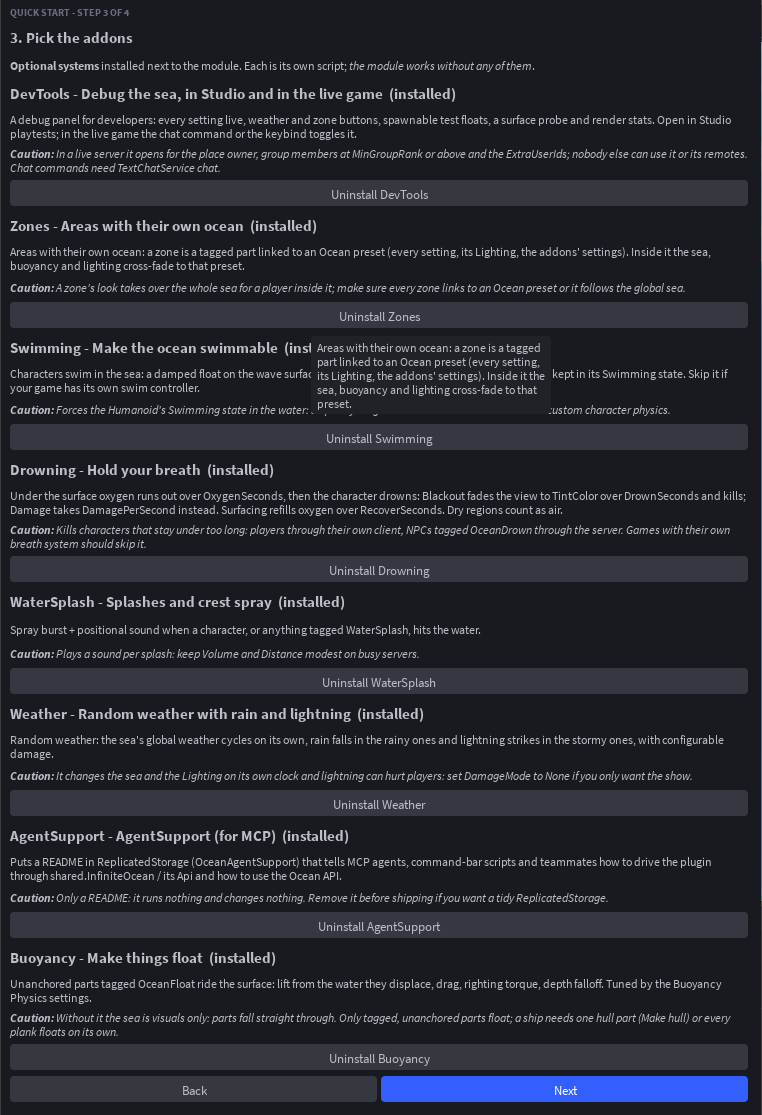
Pick the addons. For this tutorial install Buoyancy (things float), Swimming (characters swim) and DevTools (a debug panel in playtests). Press Next.
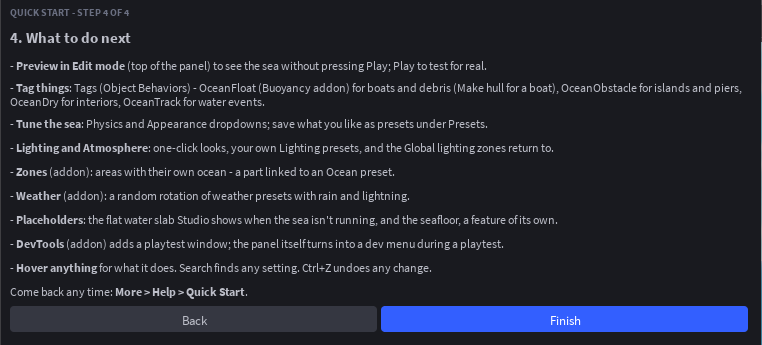
Finish starts the Edit-mode preview: the sea appears around the camera. It is drawn under the camera, not in the workspace, so nothing is saved into the place and Team Create teammates never see it.
2. Build an island
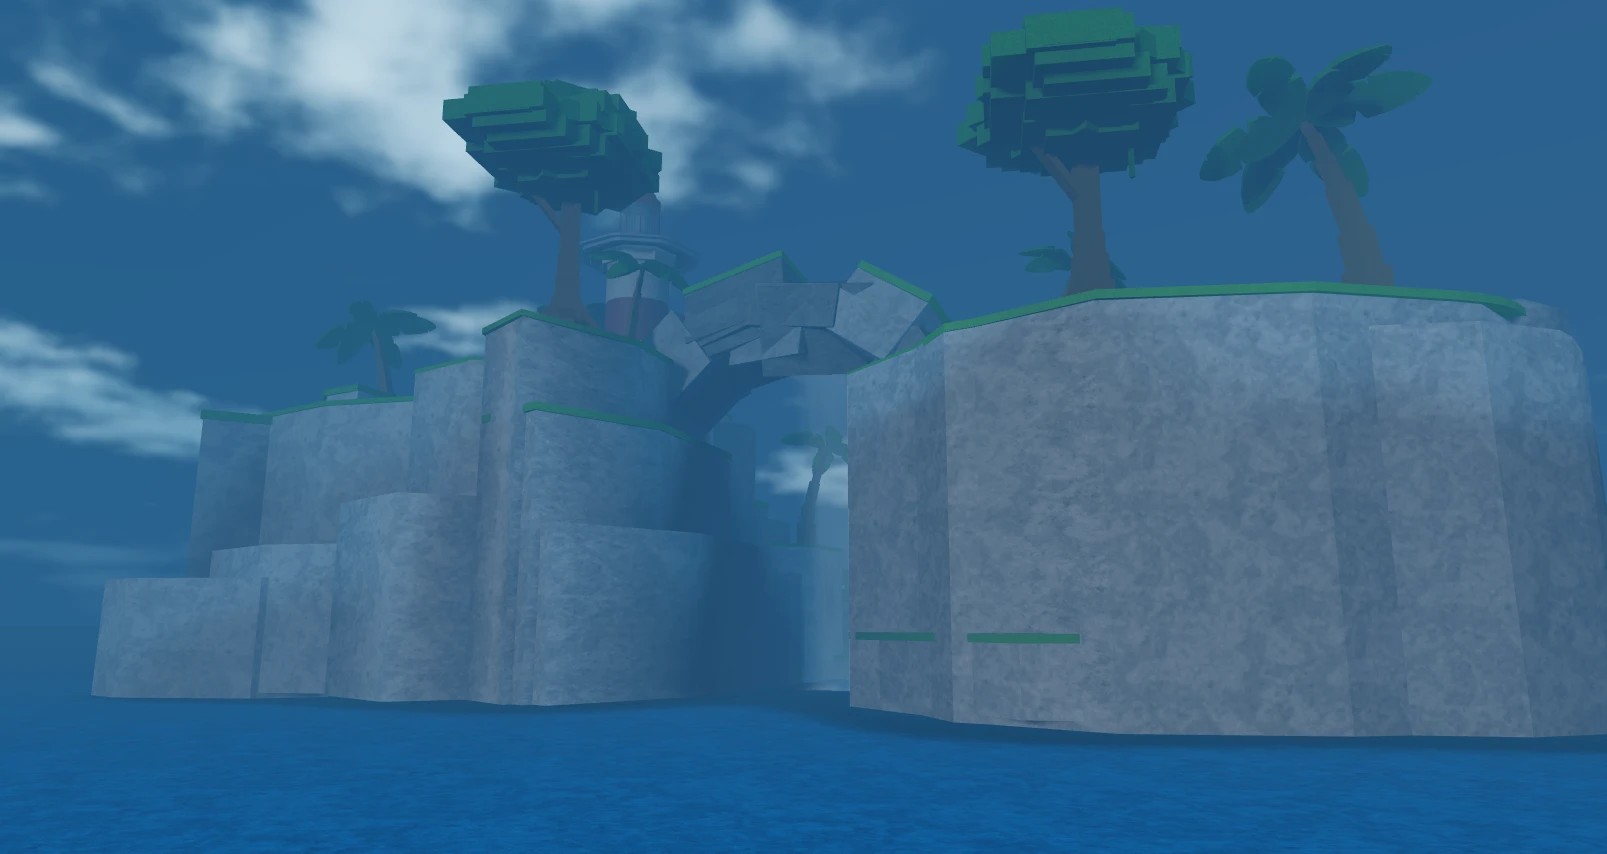
Build or import an island so it pokes through the surface at SeaLevel (0 by default). Water washes straight through parts, so make the sea respect the shore:
- Select the island (a Model or a Part).
- In the panel open Tags and, under
OceanObstacle, press Tag selection.
The sea goes calm out to OceanShore studs beyond the island's footprint (40 by default) and eases back to full waves over the same distance again. Set the OceanShore and OceanCalmness attributes on the island to tune it: a calmness of 1 flattens the water completely, 0.5 halves the waves.
For a harbour, tag the breakwater instead of the island and the water inside stays quiet while the open sea keeps rolling.
3. A boat
Build a boat as a Model with one anchored-free assembly (parts welded together). Select the hull part and, under OceanFloat in Tags, press Tag selection. Unanchor it and press Play: it floats, rocks with the waves and drifts with drag.
Tune it on the hull with attributes:
OceanBuoyancyscales the lift (1.3 sits higher, 0.8 sits lower).OceanDragscales the drag.
Or globally under Buoyancy Physics: WaterDensity, LinearDrag, AngularDrag, MaxLift. For a wide boat that should not rock on every ripple, tag several parts across the hull, or select the boat Model and press Make hull for selected boat to give the boat one hull part that floats it, keeps the deck level and welds it together.
4. Swim
With the Swimming addon installed, characters that walk into the water swim: hold jump to surface, look down and move to dive. Under the addon's dropdown in the panel set CanJump (whether players can jump while swimming) and how the swim feels.
Anything a player should not swim through, such as the inside of a ship, gets the OceanDry tag: there is no water inside its box, the surface sinks under it and the underwater tint stays off.
5. Try the presets
Open Presets. An Ocean preset changes everything at once: waves, colours, foam, material, Lighting and Atmosphere. Press Pirate Seas and the sky darkens as the swell picks up; Oil Rig gives a long realistic swell; Great Flood puts walls of water on the horizon; Blank is a flat neutral sea to build your own from.
Physics and Visual presets change only their half. Save your own with Save current in any of the three sections; saved presets show up in Quick Start and in the Zones and Weather addons.
6. A storm from a script
Everything the panel does is an attribute on ReplicatedStorage.Ocean, and the module exposes weather. In a server Script:
local Ocean = require(game.ReplicatedStorage.Ocean)

-- the presets are plain tables of settings, so they double as weathers
Ocean:CreateWeather("Storm", Ocean.Presets.Ocean["Pirate Seas"])
Ocean:CreateWeather("Glassy", { WaveHeight = 0.25, FoamOpacity = 0, ShallowColor = Color3.fromRGB(70, 170, 210) })

while true do
	task.wait(120)
	Ocean:SetWeather("Storm", 30) -- cross-fade the whole sea over 30 seconds
	task.wait(90)
	Ocean:SetWeather("Default", 30) -- back to the panel's settings
end
The fade is a function of server time, so every client shows the same sea and the server's buoyancy agrees with it. To give only the bay its own weather:
Ocean:CreateZone("Bay", { Position = Vector3.new(0, 0, 2000), Radius = 800, Weather = "Glassy" })
Or, without code, install the Zones addon, press + New zone, move the zone part over the bay and link it to a preset.
7. Ask the water
From any script, server or client:
local y = Ocean:GetHeight(position)           -- surface height right now
local deep = Ocean:GetDepth(position) > 5     -- more than 5 studs under
local normal = Ocean:GetSurfaceNormal(position)

Ocean.EnteredWater:Connect(function(instance) print(instance, "splash") end)
Ocean.WentUnderWater:Connect(function(instance) print(instance, "is under") end)
Events fire for player characters and for anything tagged OceanFloat or OceanTrack. The scripting guide covers the rest.